“Seat Leon II” by David Melchor
This is a quick tutorial that explains all the process to make this composition. We´re going to see how to make the model, materials, lighting, render parameters and finishig the image with photoshop.
This is a quick tutorial that explains all the process to make this composition. We´re going to see how to make the model, materials, lighting, render parameters and finishig the image with photoshop.
• Modeling the auto bodywork.
This model has the minimun polys possible and a “Mesh Smooth” modifier applied to smooth the surface.
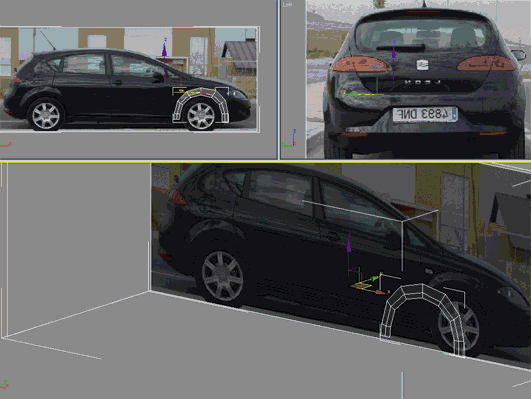
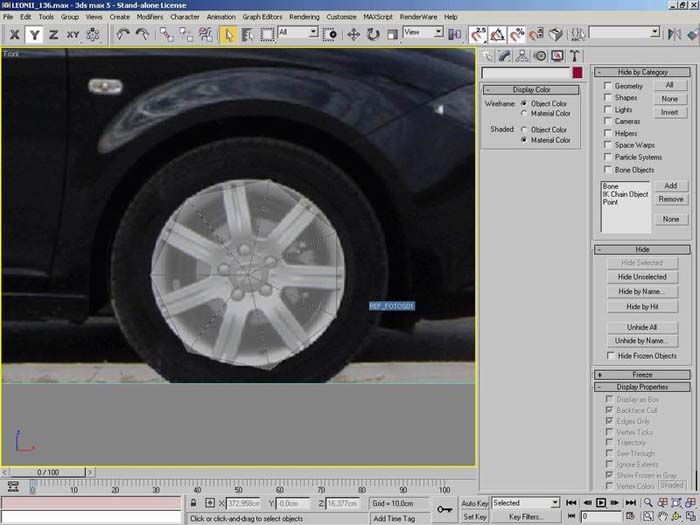
To start, I put reference pictures of the car in the scene. In this case, In the first place, I modelled the right part of the car in plane. I did it extruding edges. After that, I moved vertex to set up the volume. When I finished this, I started with the back side of the car in the same way. The complete process can be seen in this animated image:
Tips:
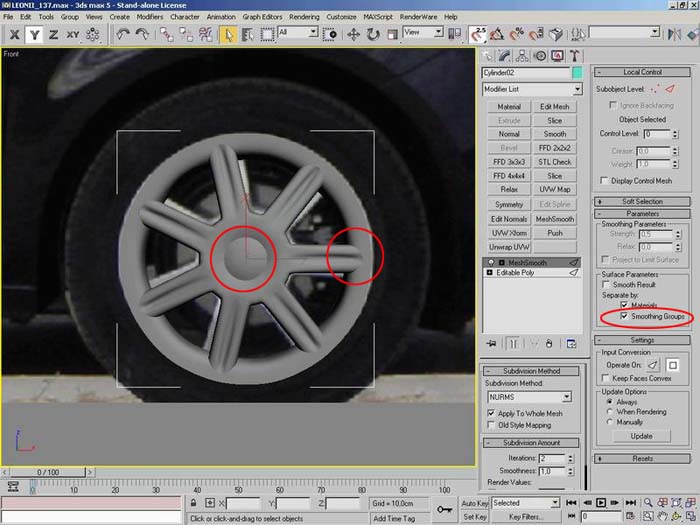
• To obtain soft edges, you have to “Chamfer” this edge. If you don´t make this, the meshsmooth modifier will smooth this part.
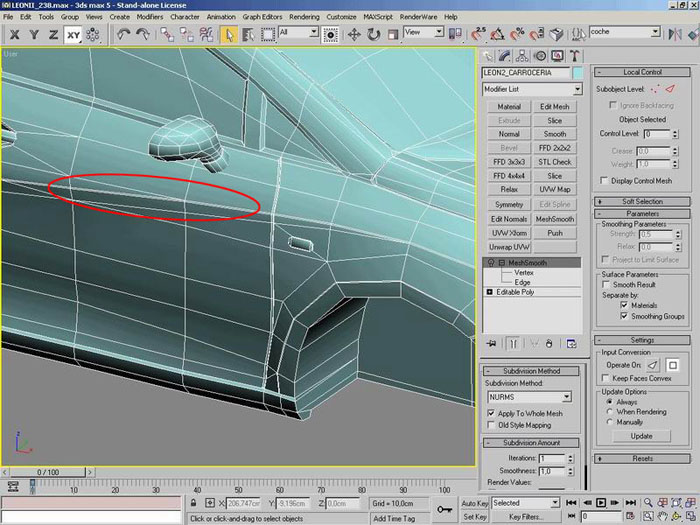
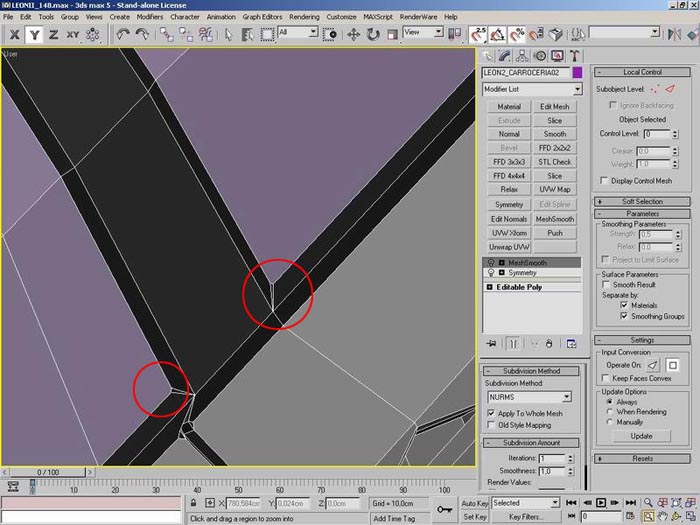
• To obtain sharp edges, I work with “Smoothing Groups”. You have to give one “Smoothing Group” to one face an another different to the other. And don´t forget to active the “Smoothing Groups” switch in “MeshSmooth” modifier.

• To obtain hard angles, you have to “Chamfer” the edge or vertex of this angle. If you don´t do this, this angle will be curved in the “Mesh Smooth” modifier.
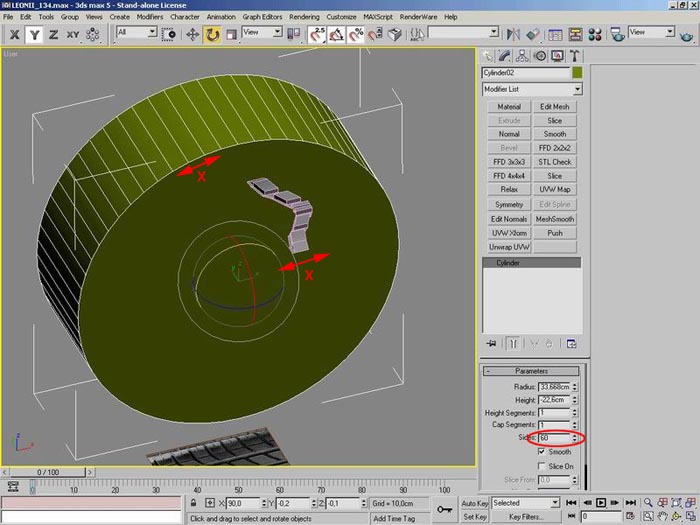
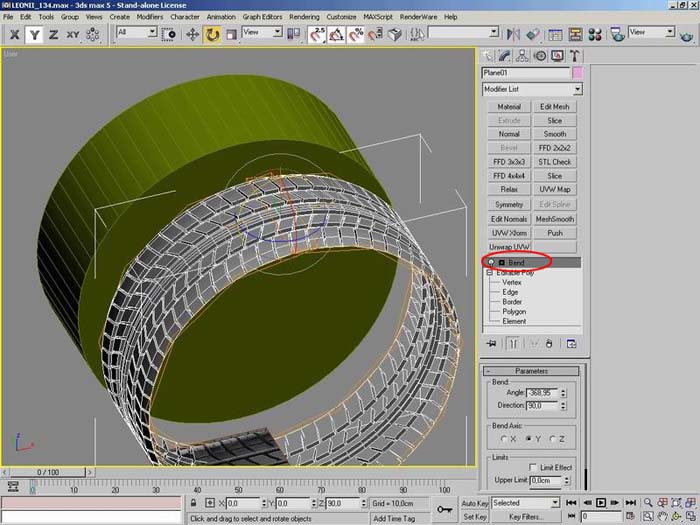
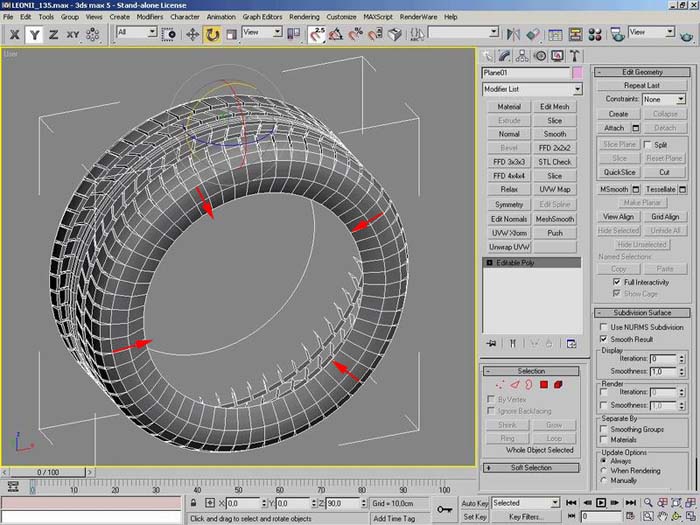
2. Modeling the tires.
• Use a picture to reference. Extrude the faces to make a segment of tire.
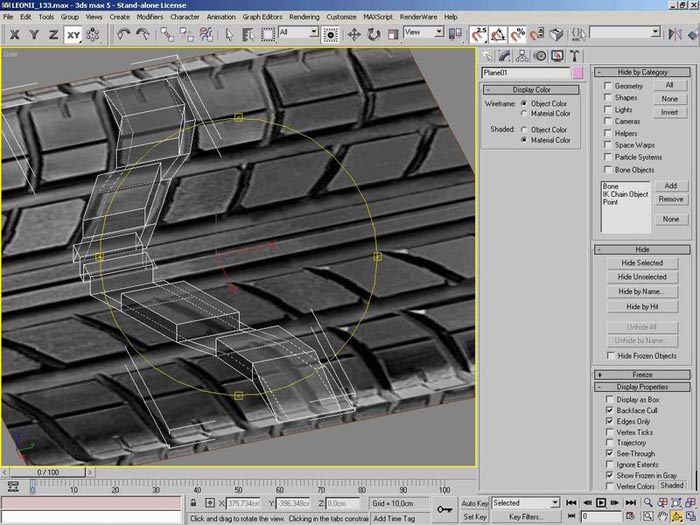
• Create a cylinder with the same radius of final tire.

• Increase the sides of cylinder until every face measures the same size that the created piece of tire.
• Copy the segment as many times as sides has the cylinder.
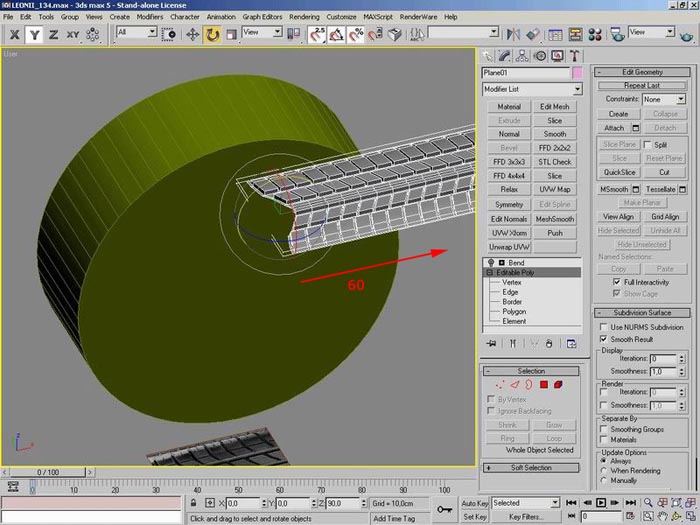
• Apply the “Blend” modifier. Move the angle parameter until the tire is closed.
• Extrude the border´s edges to close the rest of tire.
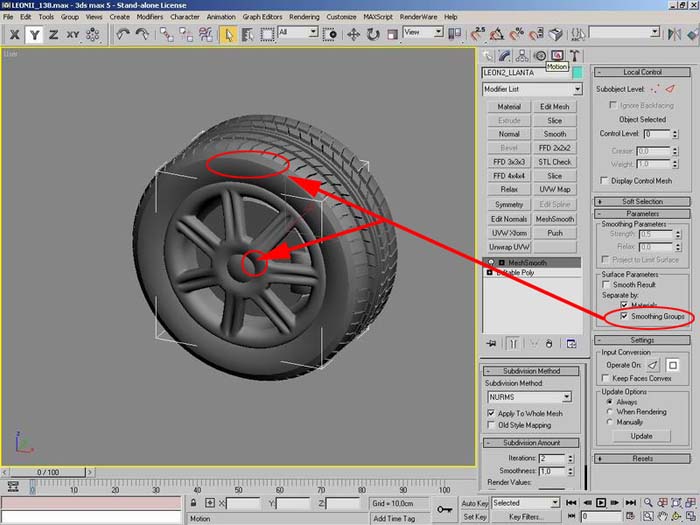
3. Wheel Rim.
• Make a cylinder with the same steps that segments have the wheel rim.
• Make one segment of wheel rim.
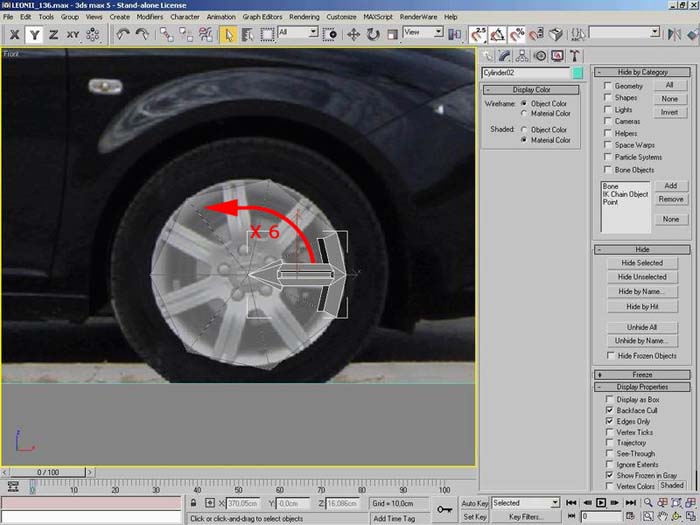
• Rotate and copy this segment.

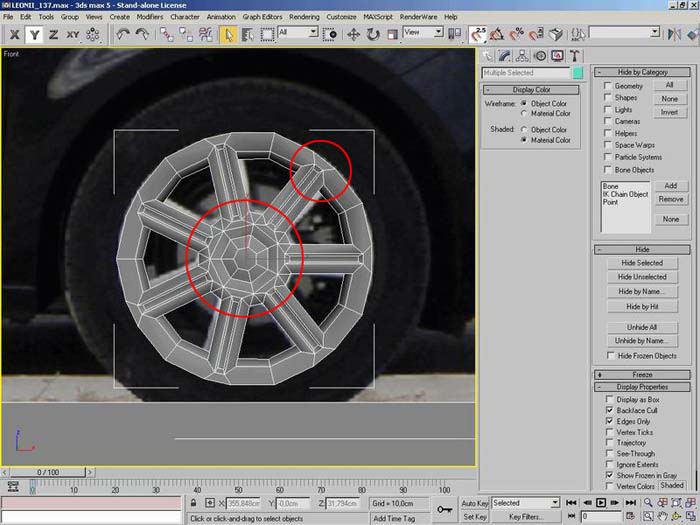
• Refine the details of the rim.
• Aply the “Smoothing Groups” to the faces that you don´t want to smooth in the meshsmooth modifier.
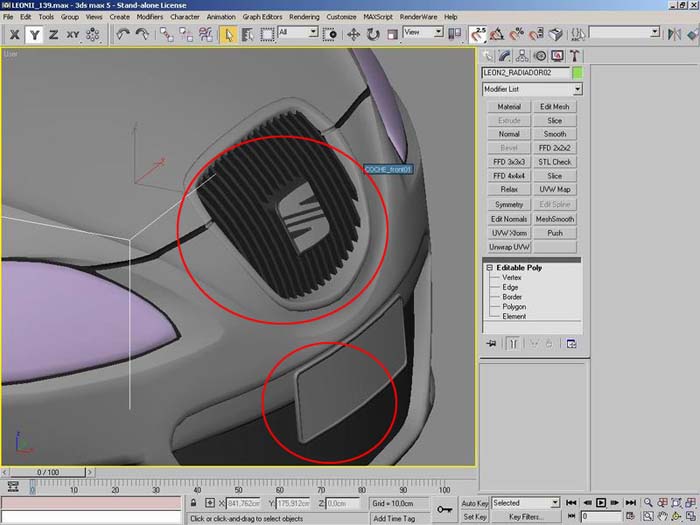
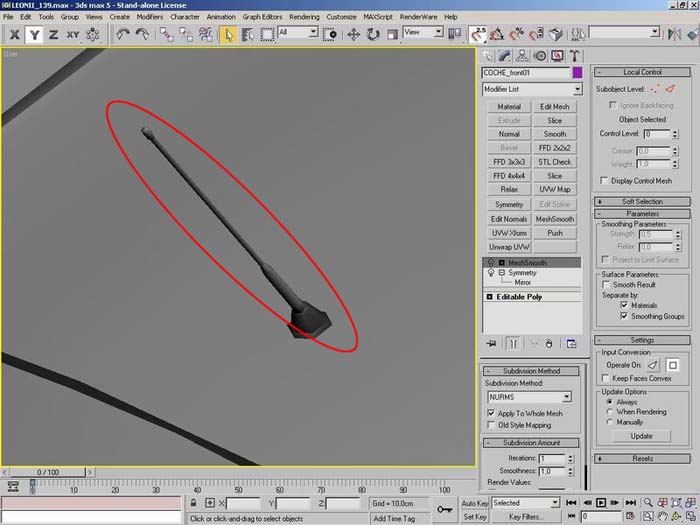
• Adding details.
Model the details that you need.
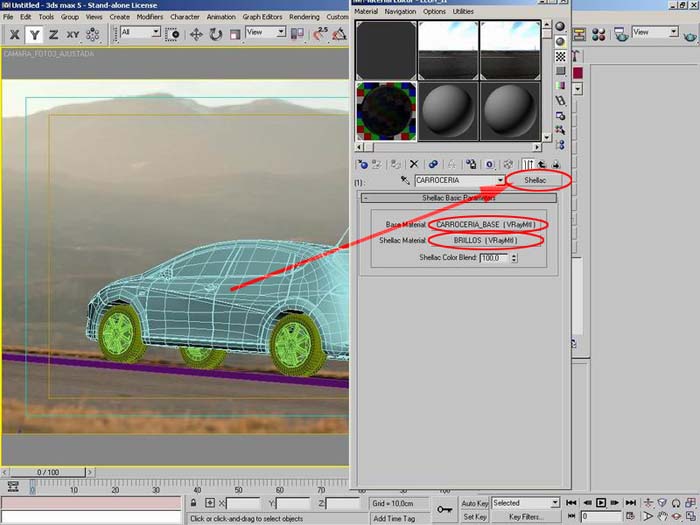
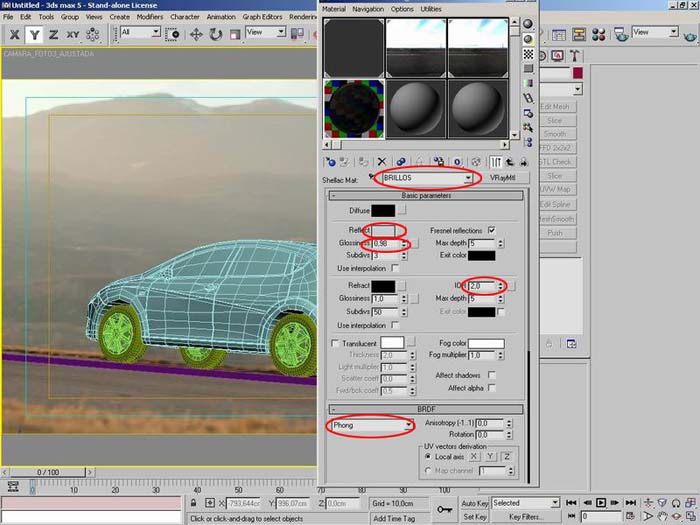
• Materials.
In the principal material (auto body), I used a shellac material. This material obtains a reflection similar to the real car´s. It has 2 submaterials. One is the part of surface that shines and the other is the surface that doesn´t. The rest of materials are standard.

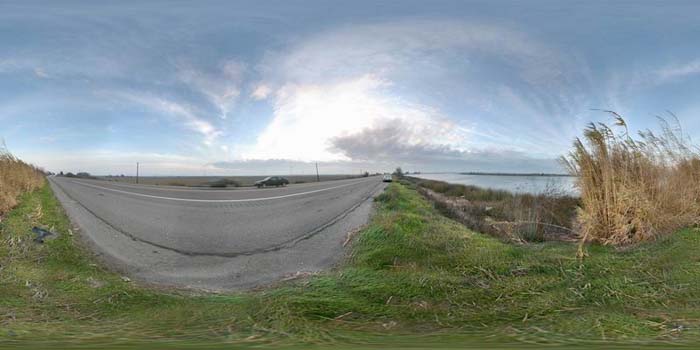
• Hdri Environment and render parameters.
This is the hdri image used is this image:
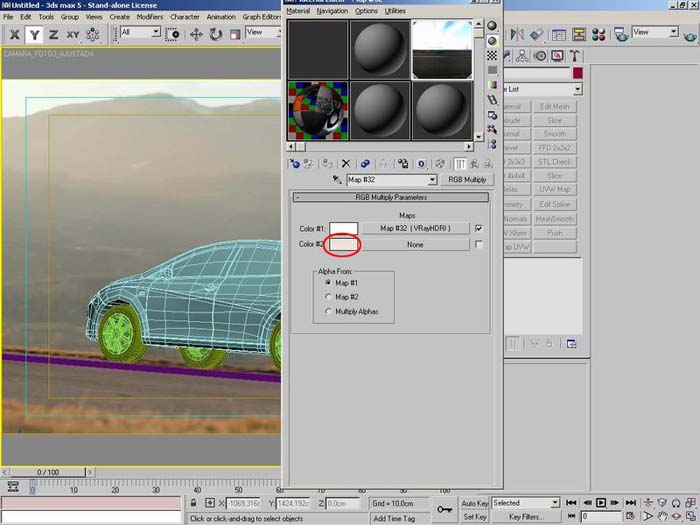
I used a “RGB Multiply” material to tint the Hdri map.
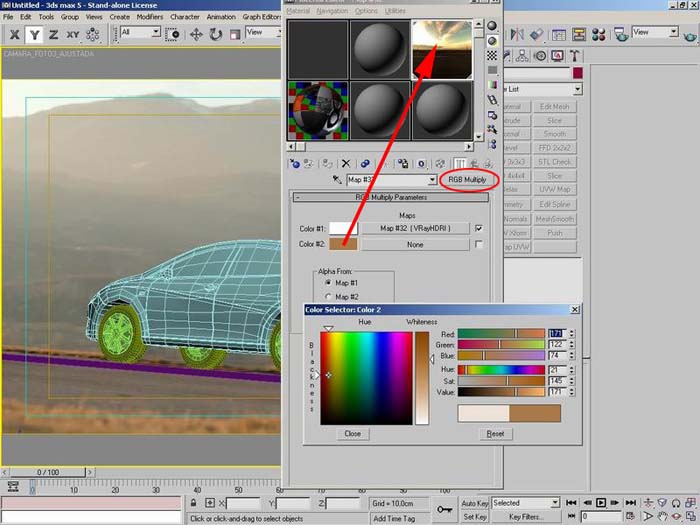
Doing this, I make the hdri´s colour more similar to the background. The final adjust is this:
Now, I have to move the hdri environment until the lighting fits the scene. Also I have adjust the intensity of hdri.
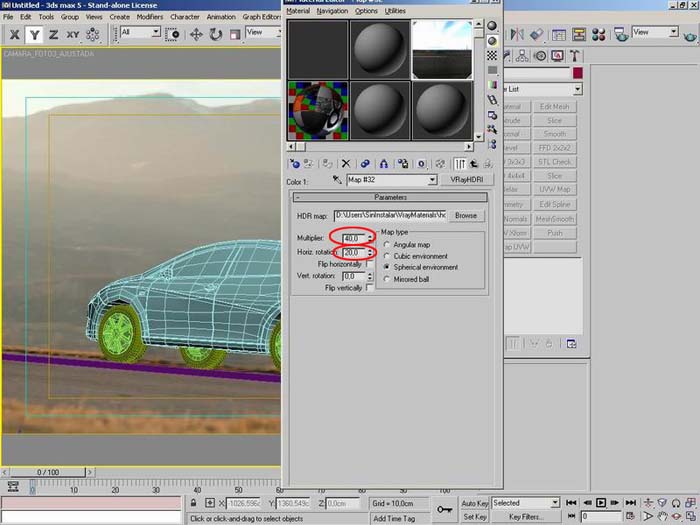
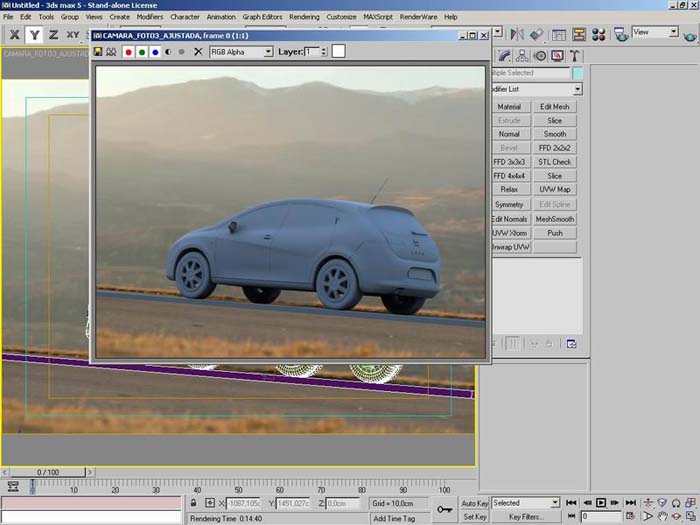
Finally, I adjust the render parameters.

* Only in the skylight I used the tinted hdri.
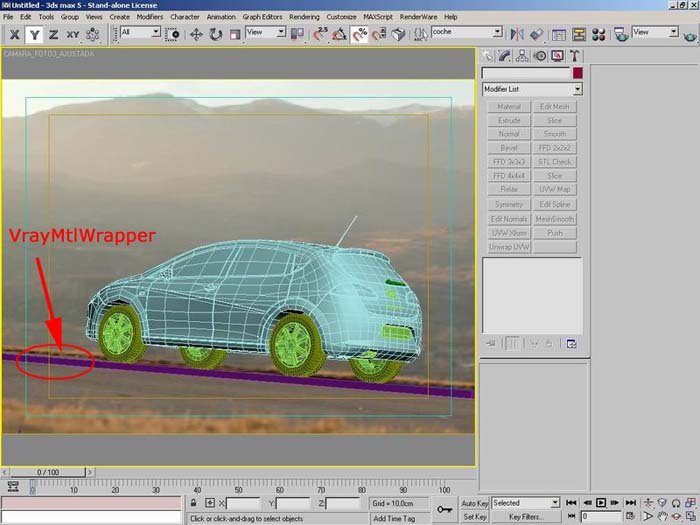
I have used a VrayMtlWrapper object, making the light bounce in the ground.
• Finishing the image with Photoshop
To finish the composition, I used photoshop program. I created layers for adjusting the final colour and light, also to fix small failures.


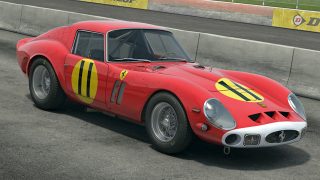
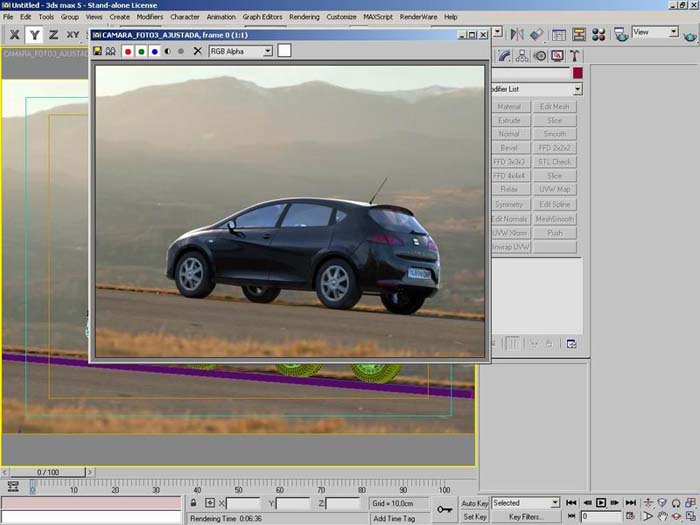
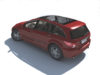
• Final compositions.


About The Author
You might be interested in