The progress of modelling a Character
| 1. |
I am modelling this character using Maya 4. The sole purpose of making this character is fun. At this time, I dont really know where it will all end, but lets see how it evolves :) This is where the screenshorts start. To sum up what happend, then I started by creating a poly cube, turning it into a polyshape by using the CPS toolbox MEL script collection (can be downloaded at www.highend3d.com). I am working on one half of the model, and CPS automatically makes a mirror copy of the head. Constantly adding more polygones and shaping the half head. To get an idea on how it works, look at [this] tutorial. |
 |
|||
| 2. |
The head starting to get some character. I pulled his back head up some, and added some detail at the eyebrows. I added two black spheres as pupillars, but they will probarbly change when I start making the real eyes. |
 |
|||
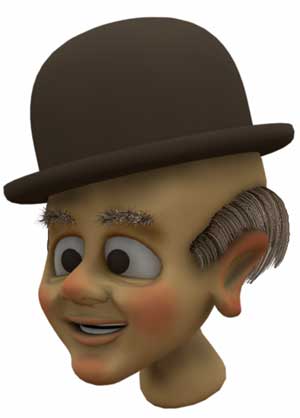
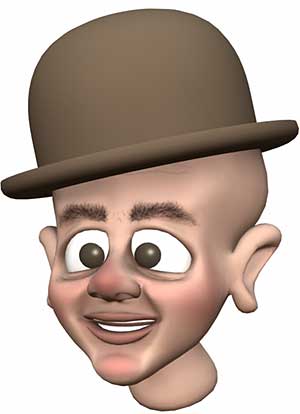
| 3. | My girlfriend told me to add a bowler hat, and I made the nostrils and tweaked the area around the eyes a bit. | 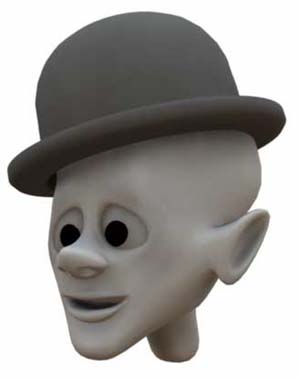 |
|||
| 4. | Added some quick surface color and made some preliminary teeth. | 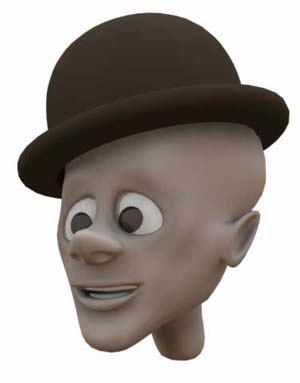 |
|||
| 5. | Here I have given him some cheeks, adjusted the upper lip quite a bit and started giving the ears some shape. | ||||
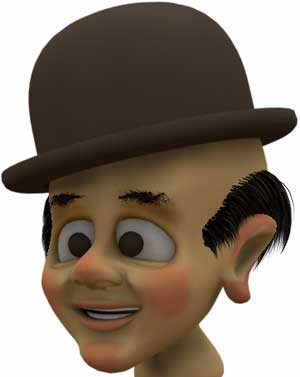
| 6. | Still doing alot of tweaking around the ears and the lower jaw. I also added the little creasing under the nose. |
 |
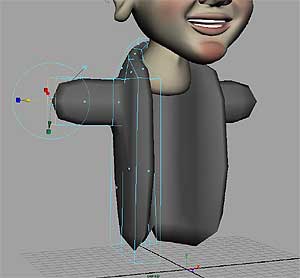
|||
| 7. | I brought the image from #6 into photoshop and started painting on it, to find the way I want the hair and the textures to look. | 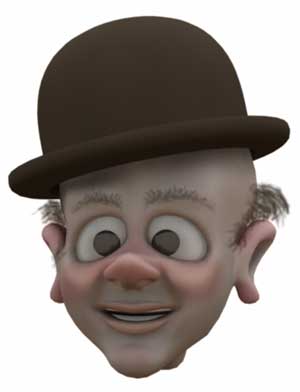 |
|||
| 8. | Started to add PaintFX hair. Click on the image or [here] to see a wireframe of the model, where you can see the control curves for the hair. |  |
|||
| 9. | The head from behind showing the hair strands. I will detail the hair later as the hair looks thing at the moment. | 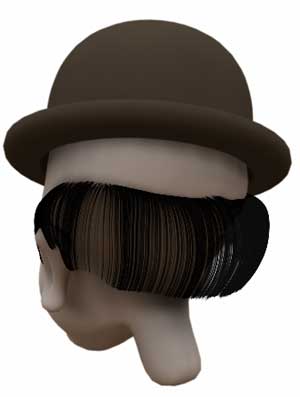 |
|||
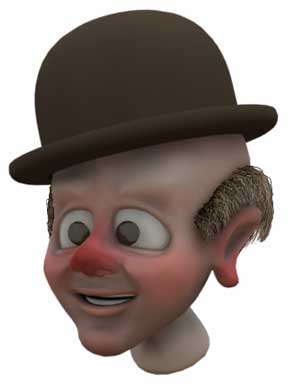
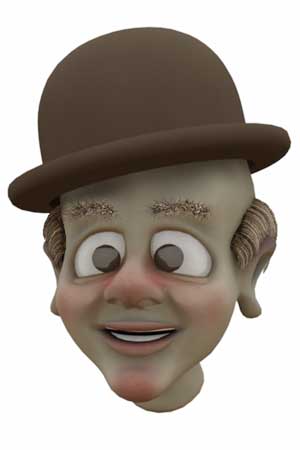
| 10. | I added some wrinkles under the eyes, to give him an older look. |  |
|||
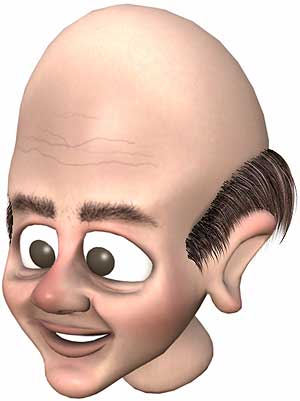
| 11. | I started to adjust the color of the hair. | 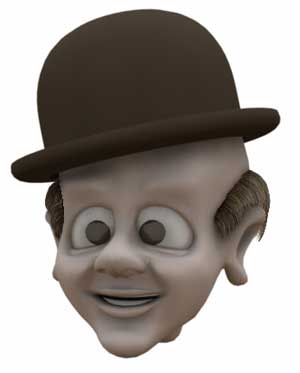 |
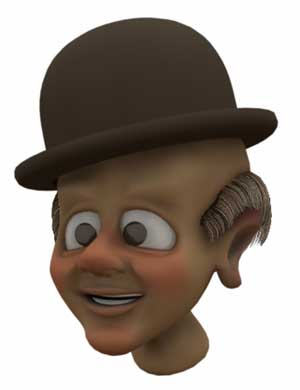
|||
| 12. |
Started to paint some textures.They will need alot of work though. Bah!. This looks awfull!! The UV coordinates is messing with me, but I will continue tomorrow with a different approach. |
 |
|||
| 13. |
Okay, so I deleted my teture mapping and started over, by projecting planar maps onto the surface. I used the built-in 3D paint feature of Maya to blend the different maps. I still need to adjust the color of the texures because I want them to be more greyish. I also have to make bump maps and specular maps, plus I need to add some faults to the skin. |
 |
|||
| 14. | More texture adjustments made. I am still not satisfied though.. | 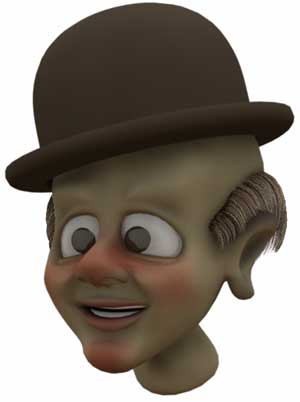 |
|||
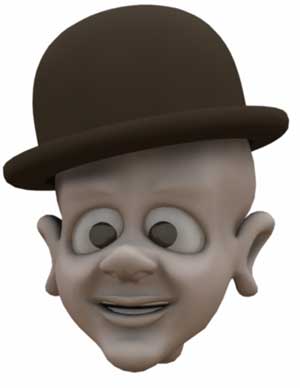
| 15. |
Eyebrows added, but they still need to be adjusted, because they are way to fuzzy, and the color is not good. Texture adjusted once again, but I think I am gonna start all over texturing. |
 |
|||
| 16. |
I have begun modelling the body. I am so sick and tired of the texturing of the face, so I will have to get back to that on a later stage. I am not modelling the shirt at this moment, because I want his jacket to be open, or atleast have the posibiliy to open the jacket. |
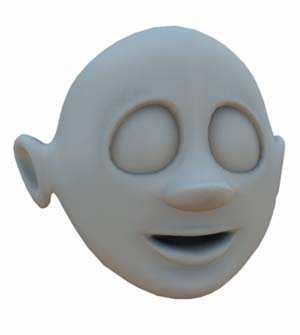
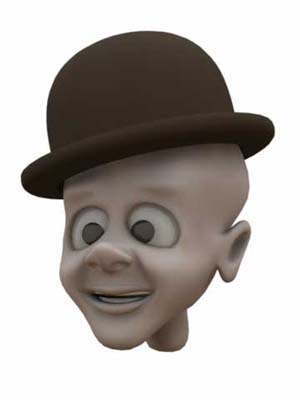
 |
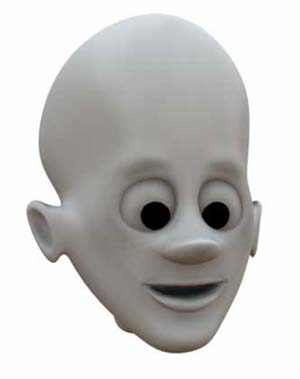
|||
| 17. | Im adding and splitting the polygones, shaping the jacket/body slowly. | 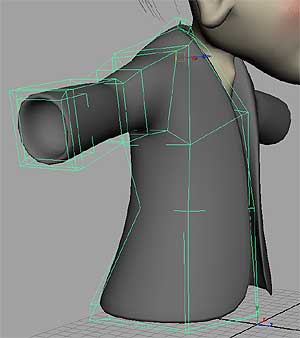 |
|||
| 18. |
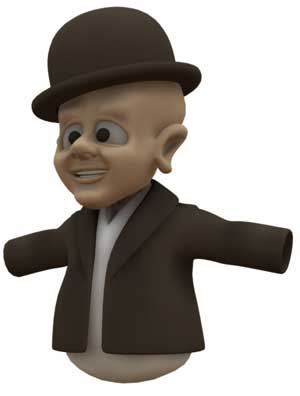
Here’s a rendering of how the character looks so far. For the sake of rendering speed, I did not render the hair. I think his body got to look more round and soft, so I have some work to do on the shape of the body. |
 |
|||
| 19. | I have made the jacket more round and added some detail to it. I also took off some of the lenght of the jacket. | 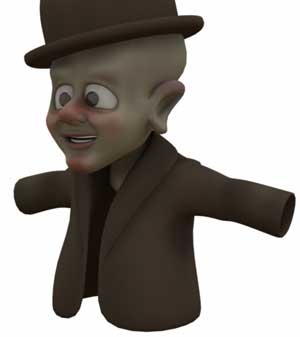 |
|||
| 20. | I deleted the face texture again, becasue it was awfull. so now im back to square 1 with the texture again, sigh.. |  |
|||
| 21. |
I added an object that eventually will become a shirt. |
 |
|||
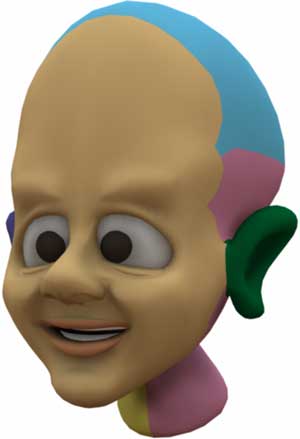
| 22. |
Trying a new approach to the texturing. I have divided the head into different texture areas. Each color shows the different areas, and each area has a sperate image file mapped on to it. beige, blue, pink, yellow: Planar mapped I am painting the maps in photoshop. |
 |
|||
| 23. | The face is getting a little color. |  |
|||
| 24. | Slowly each patch of texture mapping is getting colored. | 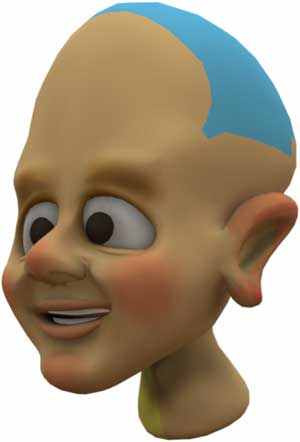 |
|||
| 25. |
I thought I wanted to make a rendering with the new texture, where I can see the hair and eyebrows etc. This is what I have to do:
And probarbly alot more. All in all I think the texture is starting to turn out well now – Finally. I was going nuts about it. |
 |
|||
| 26. |
I have changed the color of the hair and adjusted the eyebrows to make him look a little bit younger. I removed the shadowcasting from the hair and painted the shadow directly on the head texture. I lost the file texture for the left ear by accident, so I had to remake that and it still needs a little tweaking – I guess thats just one of those things that happens when working with computers. |
 |
|||
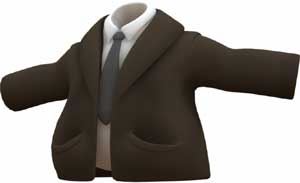
| 27. | Back to modelling the body. I have added a little detail to the shirt. | 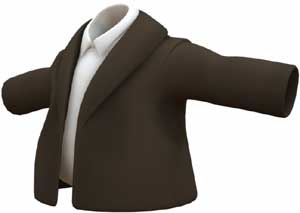 |
|||
| 28. | The pockets on the jacket has been added. |  |
|||
| 29. |
And here a tie was created. I am gonna make the tie alot wider, to get a more cartoonish look of it. |
 |
|||
| 30. | Here I added the trousers and adjusted the tie. | 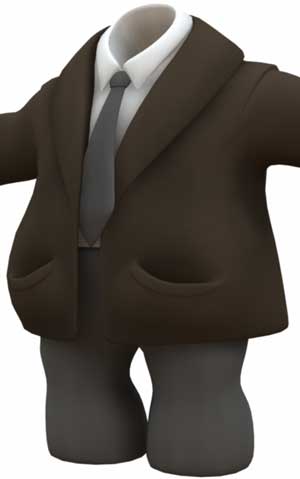 |
|||
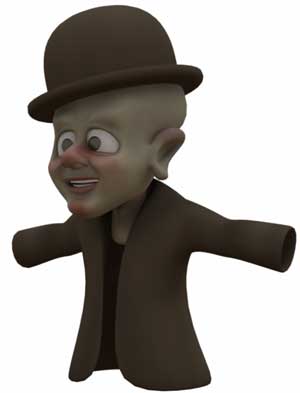
| 31. | A rendering of the body and the head. | 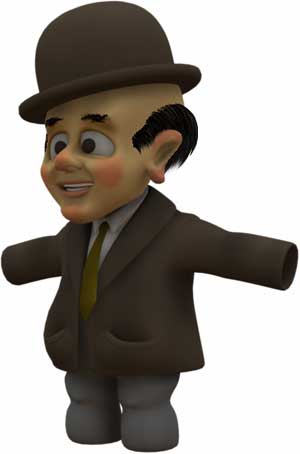 |
|||
| 32. | Not much time to work on the character today, but I added some quick hands. | 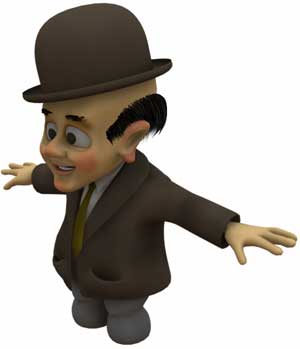 |
|||
| 33. |
Finally a step in the right direction!.. I have been cussing the texturing, it has been a real pain to paint on multiple texture files, aligning the textures etc., but a friend of mine, Chris Kniffen, has made a great tutorial on how to texture quite easily. Thanks Chris. Look at his tutorial [here] I have deleted the PaintFX eye-brows and painted them on the model instead. |
 |
|||
| 34. |
The texture is comming along really nicely now. I have added some noise to the basic skin color and added a specular map. The PaintFX hair has also been adjusted. |
 |
|||
| 35. | The textured head imported in to the scene with the body. | 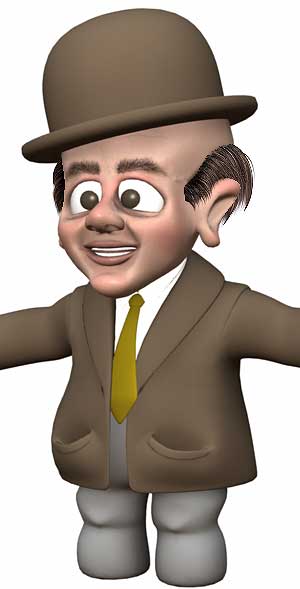 |
|||
| 36. | Starting to model the shoes, by creating a poly cube. | 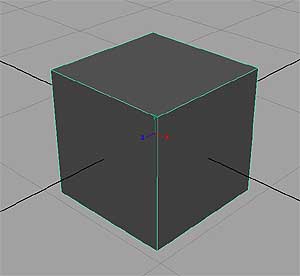 |
|||
| 37. | Extruded the faces on the poly cube, and converted it to a CPS object. | 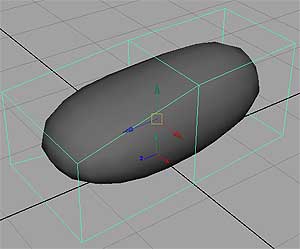 |
|||
| 38. | The shoe starting to take form. Constantly adding more faces and extruding, splitting faces and moving vertices. |  |
|||
| 39. | The shoe has gotten its form | 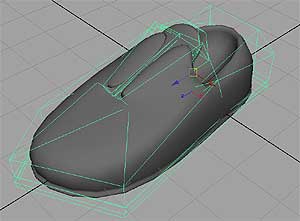 |
|||
| 40. | I added the shoelacers, which are made of basic NURBS cylinders. | 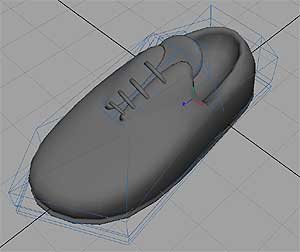 |
|||
| 41. | Gave the shoes a color and placed it in the scene. |  |
|||
| 42. | Adjusted the size of the feet a bit. | 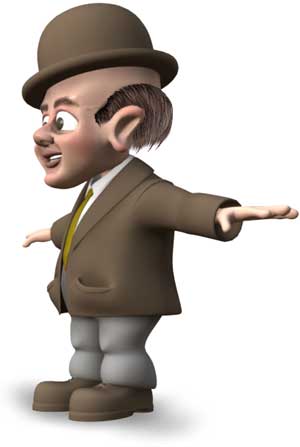 |
|||
| 43. | The eyes has been adjusted. I used the awesome texture file from Matt Wood which you can download [here]. | 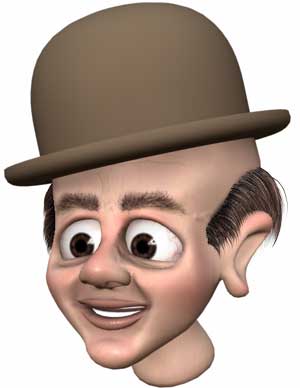 |
|||
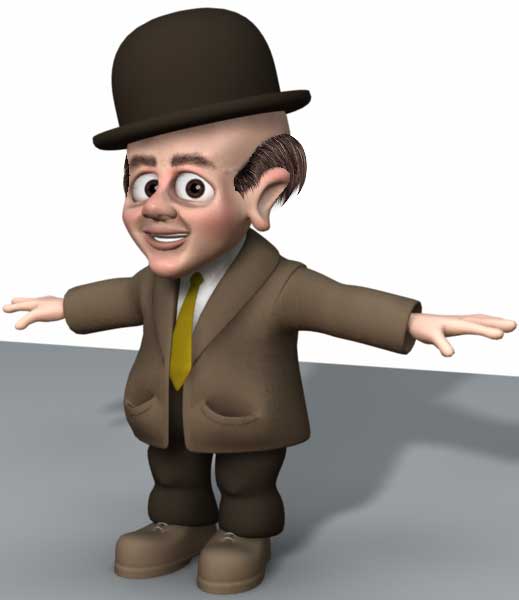
| 44. |
The eyes is now constrained to two locators, so I can move them around and the basic character is now done. Next step is to make different facial expressions so I can animate his face. Other things I can think of that needs to be done, is to make a skeleton for him and make some props. I already have plans of making a suitcase and an umbrella, but more on that later. |
||||

About The Author
You might be interested in