Photoshop Car Tutorial
This tutorial describes how to render this car. I use paths a lot. In this tutorial I also use layer masks and layer filter. The whole thing took about two hours to complete. Drawing out the paths is the most tedious part but once theyre layed out it all comes alive.
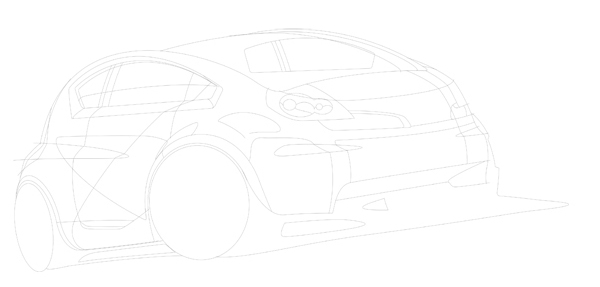
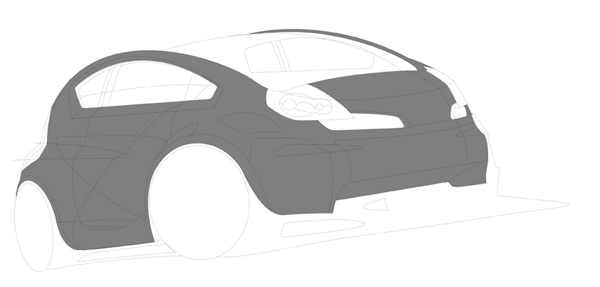
1. Path tool
Start by drawing the vehicle using paths. Keep all paths on the same layer and be careful not to accidentally delete them at any stage.
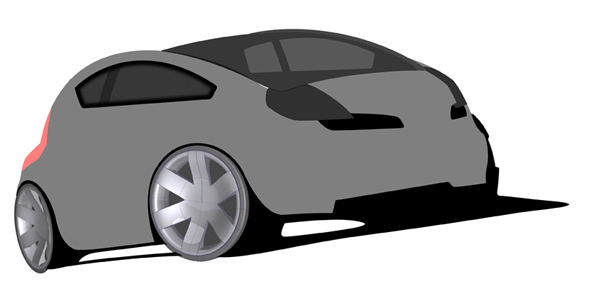
2. Base
Fill the main part of the car with a midrange colour colour. I’ve filled it in with black then reduced the opacity. This way I can manipulate the colour quicker and more effectively.
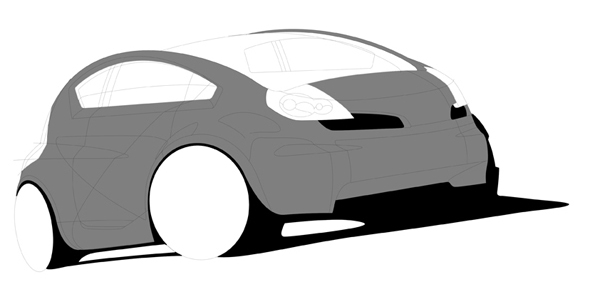
3. Shadow
Fill in any area which is creating a shadow or is very dark.
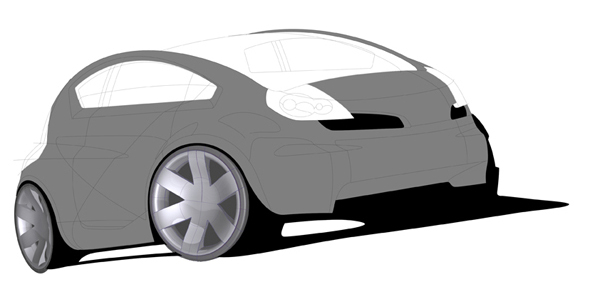
4. Wheels
Model some wheels using a 3D CAD program or download some that fit.
5. Glass
Fill in the areas which are glass. Differenciate interior and areas where you’d see straight through.
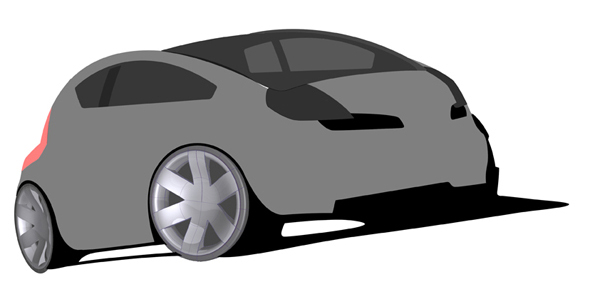
6. Glass Blackout
Add some blackout areas. These are areas which hide the glue which would stick the glass to the car.
7. Glass Highlights
And finally add some highlights to the glass.
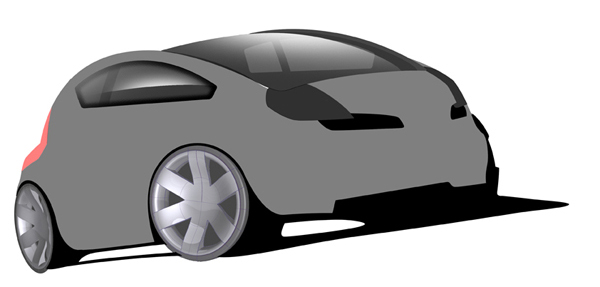
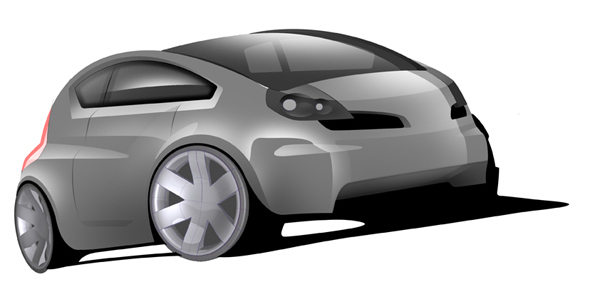
8. Darkening
Select the base area and add a gradient for the area which are low down on the car.
9. Highlights
Highlight the areas which face upwards.

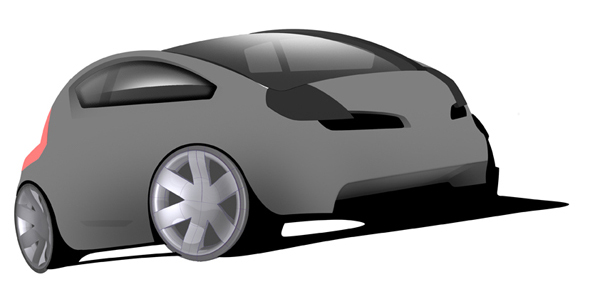
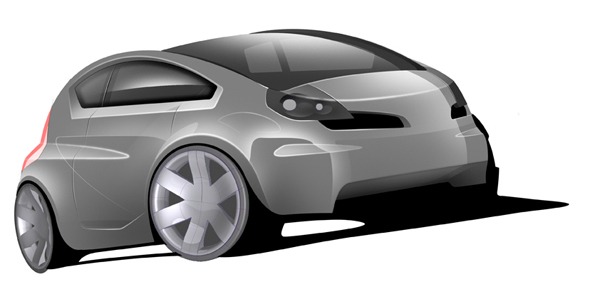
10. More highlights
Use several layers to add and test where more highlights might look good.

11. Light Detail
Add some detail for the lights or if you have door handles or badges etc…
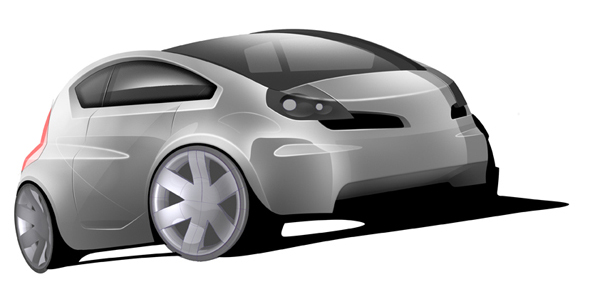
12. Shutlines
Add some shutlines and fade out the ends using the eraser to create a casual sketchy feel.
13. Shutline highlights
Stroke the shutlines with a slightly thicker white brush and fade out the ends as before.
14. Atmosphere lighting
Using the layer mask fade out therear of the base layer. Using layer mask as opose to highlighting itwith a white brush gives you more control over it.
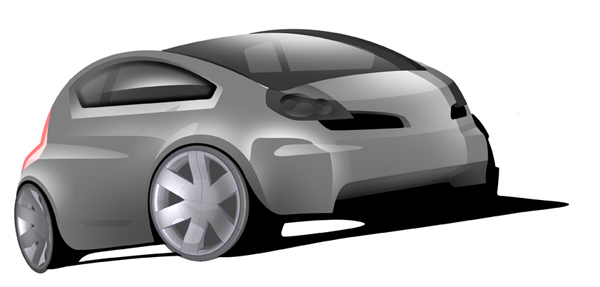
15. Background
Create some shapes for the background. Theprevious step suggested that there is light coming in from the rear sothe background features a white area on the left hand side.
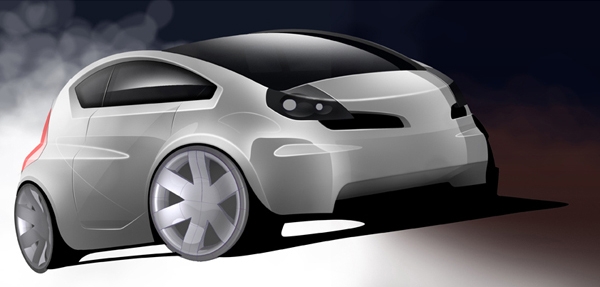
16. Finishing touches
Using the layer mask createsome patches on the wheels to give them a rugged flavour. The lightsare a simple thick line with an outer glow layer filter applied to it.

Et voila. If you have any questions dont hesitate to ask…

About The Author
You might be interested in