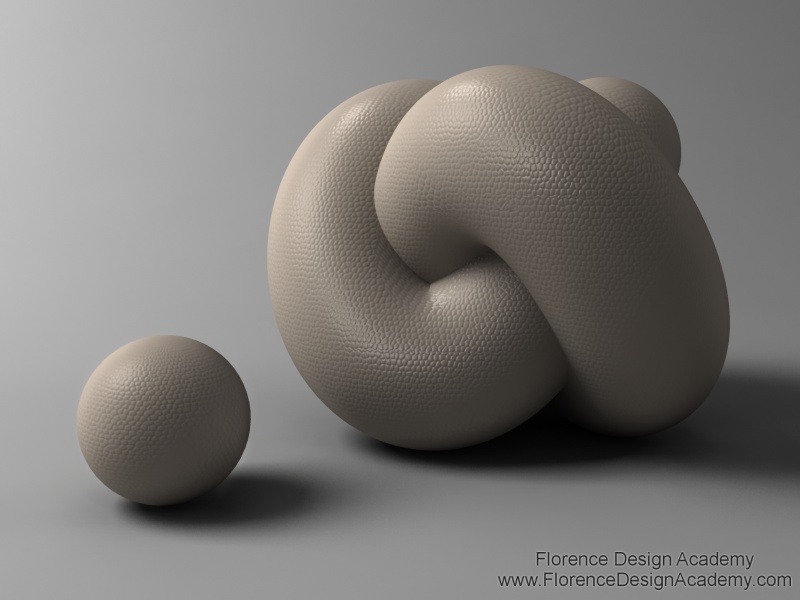
Leather material in 3D Studio Max
Leather is one of the most used materials in the field of Furniture design. Especially for design of sofas or couches. It is quite easy to obtain a good leather material.


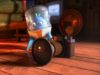
The leather material quality strongly depends on the illumination in your scene. Before you start to create the leather in the material editor you must first analyze exactly the type of leather that you want to simulate in 3D Studio Max. After this step go to choose an image which has the pattern/texture of the real leather. Here below in image 4 you can see an examples of images/maps which allow us to create a perfect leather texture in the material editor. The first one is a simple image of a scanned paper, the second one is made with Photoshop.
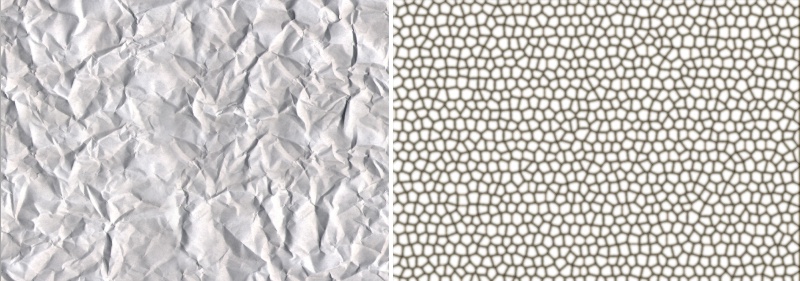
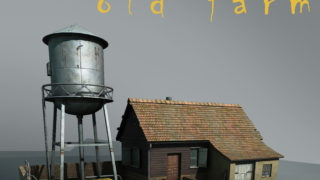
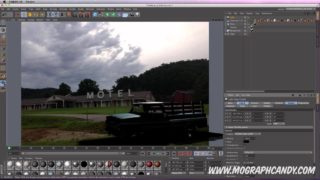
Image 4 This image is used for image 2 This image is used for image 1
Let’s see the steps to create leather.
First go to add the correct specular highlights. You must analyse the real leather and simulate the same glossiness and specular level in the material editor. There are no standard values. This settings depend on the type of leather and also on the illumination. If your light is very bright, you will have a very strong specular highlight in the rendering. To avoid this you must set a lower amount in the specular level slot. Choose in the diffuse slot the colour of your leather material.
Now go to MAPS and click in BUMP on the NONE button.
The BUMP map now allows you to create the leather texture. At this point you have many different kind of maps that you can choose. In this tutorial we will use or the BITMAP or the NOISE map. Both are very useful.
a.) If you choose NOISE you must pay attention only for one parameter: the size of the noise map. Usually it’s very very small, often lower than the value 1. But this value depends again by the kind of leather that you want to simulate.
In the BUMP amount slot in maps you are able to set the strength of the texture. Normally it is never more than 50/-50. In Rendering 3 you can see the result of the NOISE map.

Image 5 (BITMAP or the NOISE in the Bump slot).
b.) If you choose to assign a bitmap (an image) to the bump slot you must take care of the tiling value. It has more or less the same effect like the SIZE parameter in NOISE (you can assign to the object also a UVW Map from the modifier list and change the Gizmo size; it will have a similar effect like tiling).
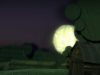
To have more control over the specular highlights in the rendering you can use after you have completed the scene a SPECIAL "MR Area Omni" light (image 6) . After you have placed the light in the correct location right-click on the MR Area Omni and disable "AFFECT DIFFUSE".
After this step this MR.Area Omni will create only specular highlights on the materials. We will use that MR.Area Omni ONLY to create the highlights that are normally visible on leather. In this way we have much more control of the position, color and brightness of the specular highlights. Disable shadows in that MR.Area Omni. This technique can be very helpful if you need more highlights than the existing light sources are already creating on the leather material. To avoid that this light affects all objects in the scene you should use the exclude option in the modify panel excluding all other objects which should not receive an additional highlight (you must select the light to do this).
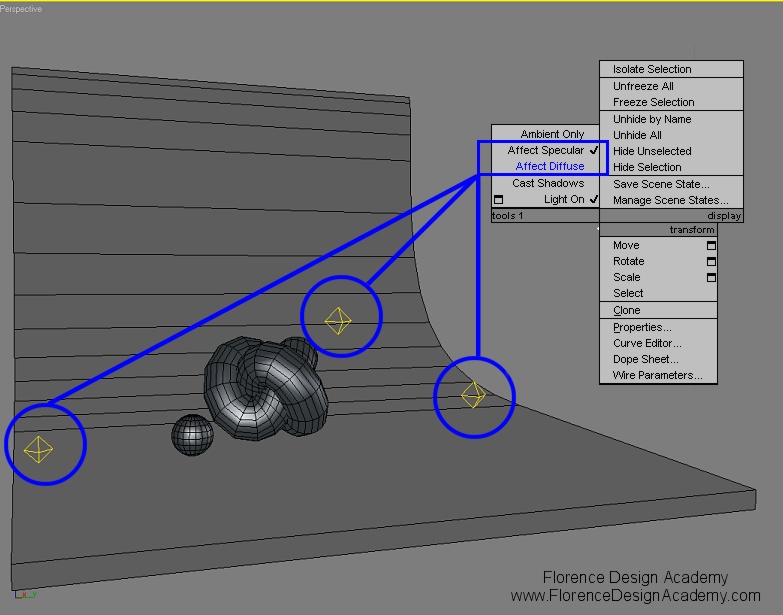
Image 6 (additional lights for additional highlights)
Photoshop
Le’t see how to create the leather texture of image 1.
Go to Photoshop and create a new file. Go to the main tool bar to FILTER and choose Texture and then Stained Glass (image 7).
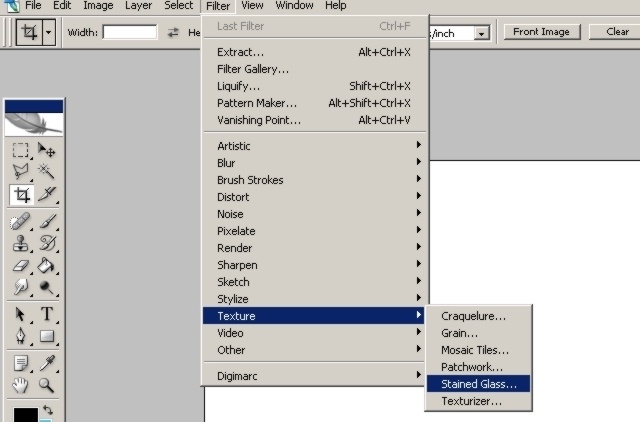
Image 7
This will give you a texture like the skin of a snake (image 8). You will have 3 parameters in that filter that you can change. Basically this is already a "map" that you can use in 3D Studio Max as BUMP map. It will give you quite good results.

Image 8
To make it a bit more interesting you can return to Photoshop and duplicate the layer of the leather (image 9). Change the copied layer from Normal to MULTIPLY. This will allow you to add different colors on the original layer without losing the black leather shapes that the filter has created. Choose an irregular brush and try to create a natural looking brown color (image 10). Don’t make it too clean, otherwise it will look very unnatural.
Now after this step go to your Multiplied layer and decrease the opacity. Don’t leave the black shape of the top layer too visible. Save the image as bitmap.
Now you have 2 images. The first one which is only black and white and the second one with brown color.
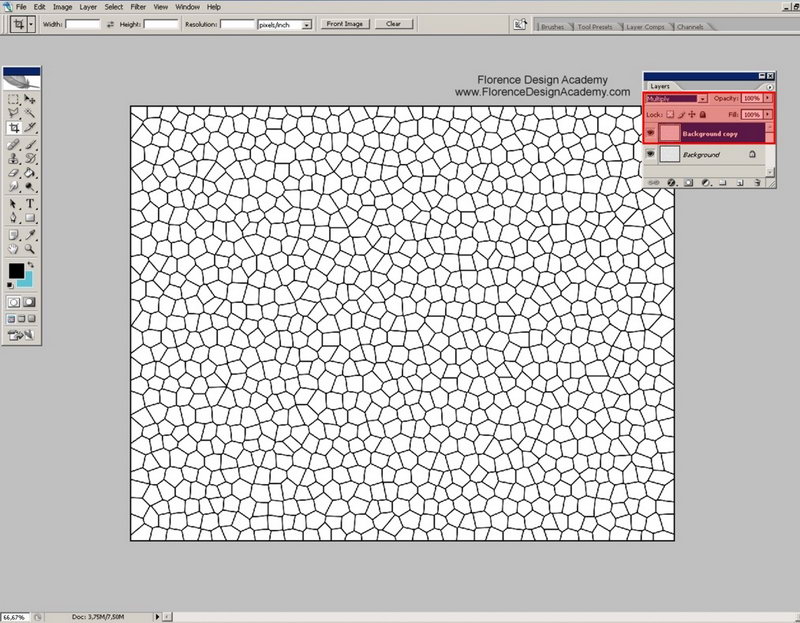
Image 9
You must place the brown one into the DIFFUSE COLOR slot in MAPS, and the black and white one into the BUMP slot (image 11). If the leather effect is too sharp you can blur both images in Photoshop choosing on the main tool bar FILTER and than Blur: GAUSSIAN BLUR. The same can be done in the BITMAP settings from the BLUR slot.
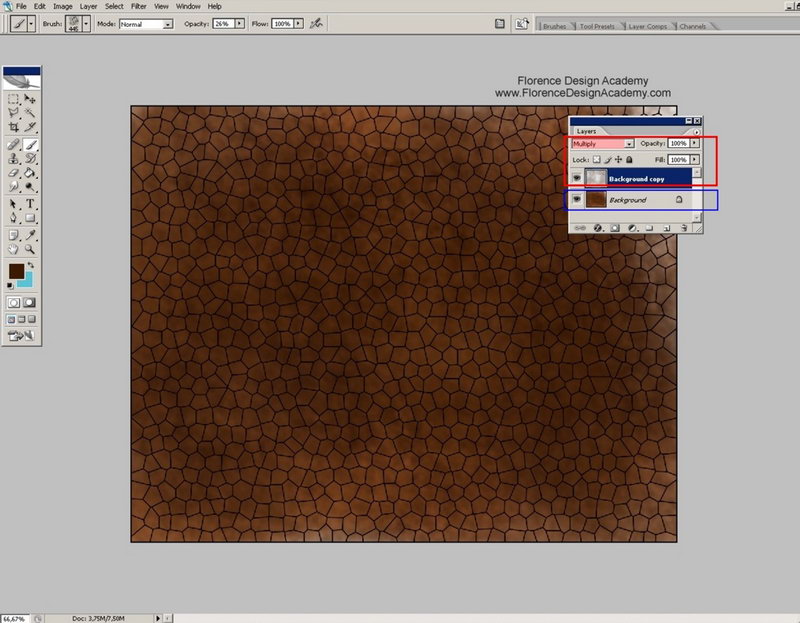
Image 10

Image 11
You can find the informations for more materials in other Florence Design Academy tutorials or lessons.
I hope you have enjoyed this tutorial.
Best Regards
Florence Design Academy
www.FlorenceDesignAcademy.com

About The Author
You might be interested in