UV mapping the easy way
UV mapping ?
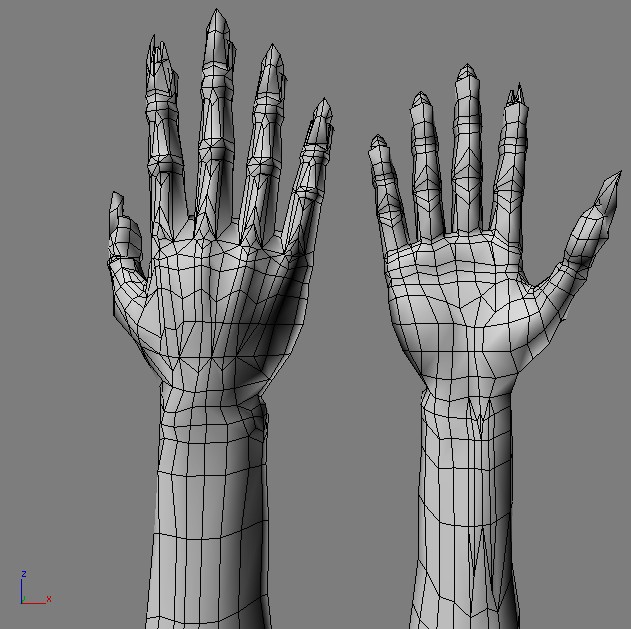
In this tutorial, I will demonstrate how simple and precise UVmapping can be using DEEPUV . This is the first tutorial I make because I don’t want to see my friends siting for hours to days on end dragging UV points and merging chunks together just to get a stretched and overlapped result. I will try to simplify the steps of UV mapping as much as I can so that beginning users can benefit from this tutorial too. I will demonstrate all the steps on the hand I’v just recently modeled for my site. if you wanna have a go on a more complicated model (like a whole person), I suggest you scroll down and read the last step first. Lets first begin with ‘what is UV mapping’? UV mapping, is the process that takes your 3D model and “unwraps” it so that you can paint over it with a 2D program.
Before You start, the things you always need to keep in mind while UVmapping your models are as follows:
OVERLAPS – Overlap means the UV surface goes “ontop” of itself. Usually, you will want to have zero overlaps by the end of the process so that you can paint your texture over the entire surface of the model seperately.
STRETCHES – Streches happen when you map a certain part bigger or smaller than it’s relative size. To avoid having streches, it is allways recommended to work with a checkers map on your model and make sure the checkers stay square.
SEAMS – Seams are where your choose to “cut” your 3d model so that it can be unwrapped into 2d. You will always wanna have as few seams as possible in your end result because it will make it easier for you to texture your model.
Getting the model to DeepUV
The first step will be to take the model you want to map into DeepUV. Basicly, the program comes with plugins that will directly export your model from your 3d program (Max,Maya,Xsi and lightwave) to DUV and back, but sometimes it doesn’t work. When direct exporting doesnt work, you will have to export the model yourself. After some research, I’ve discovered that .OBJ is the best format to keep your model’s geometry unchanged. When you export your model, make sure you keep the faces as polygons. I’d also recommend you check the exported model yourself, to make sure the geometry didn’t change.
Note that in DUV, you can always save your progress into an .OBJ file.

Getting started
OK, so you’ve got your model into DUV. lets first make some settings so we can see the stretches later on: Rightclick on the right viewport, wireframe/ uncheck the “show wireframe” and also check “material override” and uncheck “texture smoothing”.
Now you are set to begin. The first step you need to take is to apply a plannar map to the model: Click “select / all” and then try “plannar 1” or “plannar 2”, one of them ususally finds the perfect planar map to start with, but if you wanna do it yourself, open the “Interactive” tab and use the interactive plane.

Getting rid of the overlaps and seams
Unless you have an open mesh, you will always get overlaps from starting with plannar mapping. To get rid of the overlaps, we will use one of the more powerfull tools of DUV – “LIFT”. Lift will take all of the backfacing (the overlapping UV’s), flip them and place them to the right of the UV’s. Before you use it, make sure you rotate your UV’s using the “free transform” tools (under edit), so that you can determine where you want to place the seam you will get rid of (which will always be the right side of your UV’s, before clicking Lift).
By now, you allready got something that is good enough to texture, but why stop here if we can get rid of more seams and have better results?

The next step would be to select the “shared UV points” and “Join” them to get rid of more of the seams for easier texturing.
I’d reccomend bringing the (show) wireframes back for this step. Using the select tool, select all the shared points on one side (i’d recommend using the zoom and pan tools here to be precise), the selected shared points will turn pink on the other side. Now select the pink points on the other side (this will require much less precision because points join only when the 2 shared sides are selected). Make sure u do not select shared points that are not between the 2 chunks because that will cause unfixable problems later on.
now hit “join” the seam is now gone be you end up with a very stretched part in the middle. It will be fixed next.
Relaxing and final adjustments
When you first applied the planar map and then lifted, it seemed like there are allmost no stretches but there are! Becuase anything that isnt exactly infront of the plane will have a little streching. This part will show you why DUV is such a powerfull tool. the next step will be to select all the points again, and hit “Relax”. look at the magic! you now suddenly see the checkers become even squares and the stretching allmost completly dissapears.
Note that you got some control over how the relaxing works, and its often good to try it with different area grid values until u are satisfied with the result.
By now your model should be left with very minor SEAMS , STRETCHES and OVERLAPS , and this process should have taken you less than 5 minutes! You are now 80% done, this is the part where you fix by hand local problams and cut and rejoin points according to how you plan on texturing your model. This is the part that i recommend doing back in your 3d program. Note that, DUV offers some more powerfull features such as soft selecting points and relaxing local areas.

UV snapshot and texturing
Thats it. you are done!
Now it’s time for the much more fun part of texturing your model. But how can you tell which part of your texture goes to which part on the model? For this you need to take a UV snapshot. I’d recommend making the wires white and the backround black, that way you can always use it as the top layer in photoshop (or any other 2d prog) with Screen blending mode. for MAX users, i also recommend a freeware plugin called TEXPORTER . it can take a uv snapshot in a more graphical way which sometimes can help when painting your texture.

What about complex models?

Thats it! in this tutorial I’ve demonstrated how simple and fast UVmapping can be
you might say: “Of course its easy! you just mapped a hand … not a complex model”.
Mapping a complex model requires one more step before starting and its to break your model into several parts. This process is a bit different in every 3D program so i won’t go into details. But just note that this is the step that let you determine where the seams will be. After this process, you will need to map each part seperately pretty much the same way as explained above.
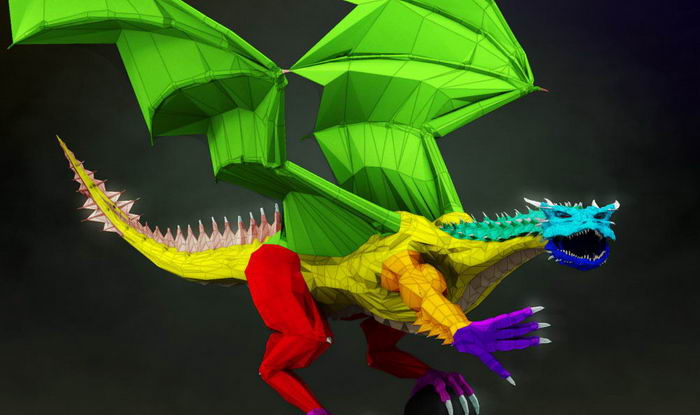
I mapped my dragon in a couple of hours using this technique!
I hope this tutorial was helpfull for you. Don’t sit on those UV’s for days EVER AGAIN :)


About The Author
You might be interested in